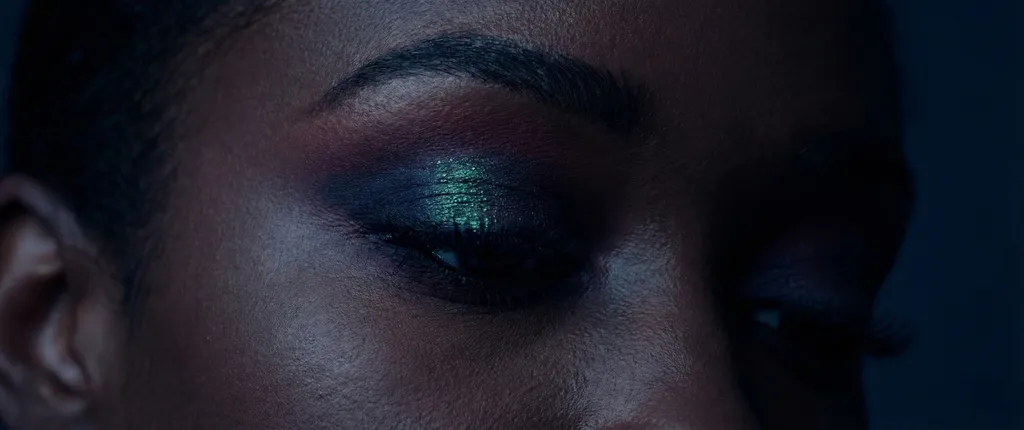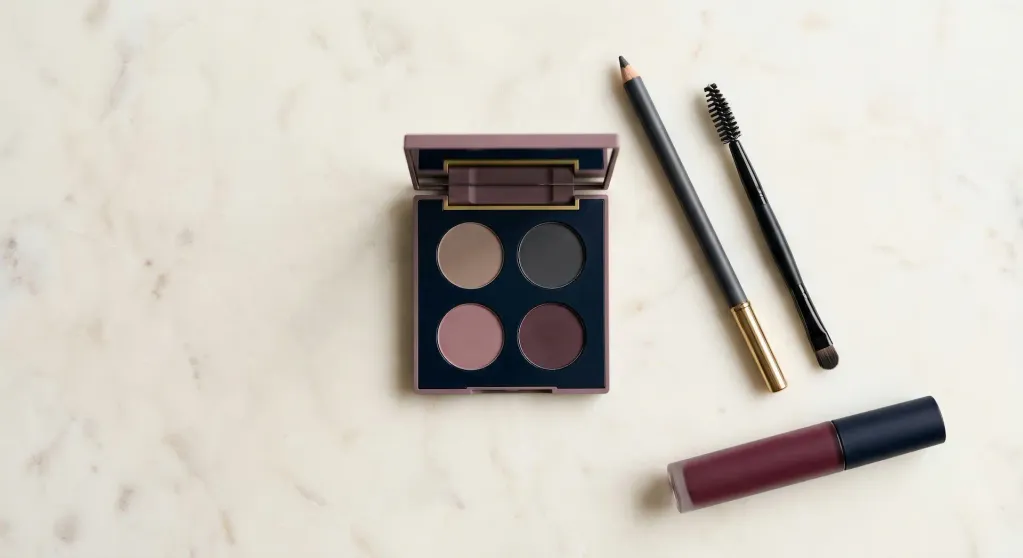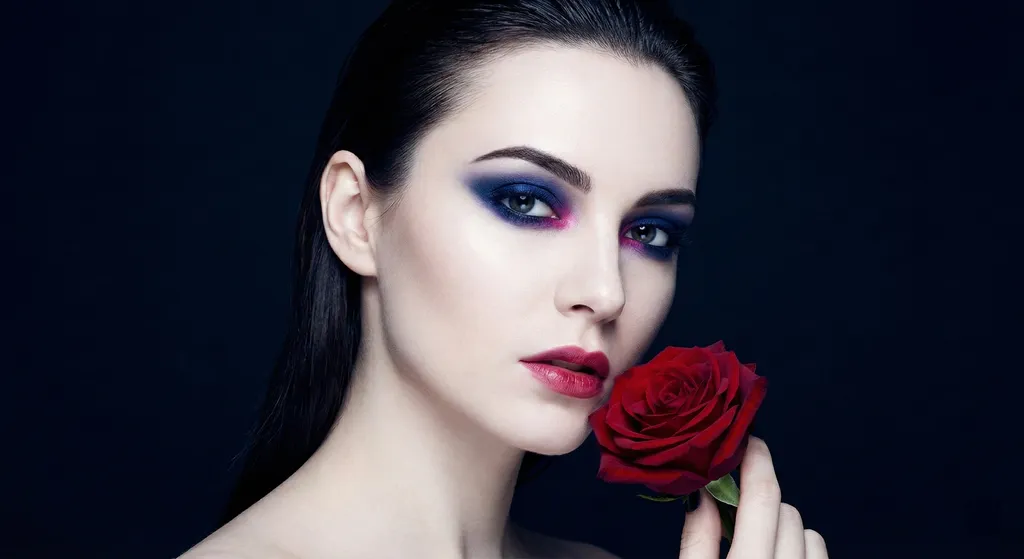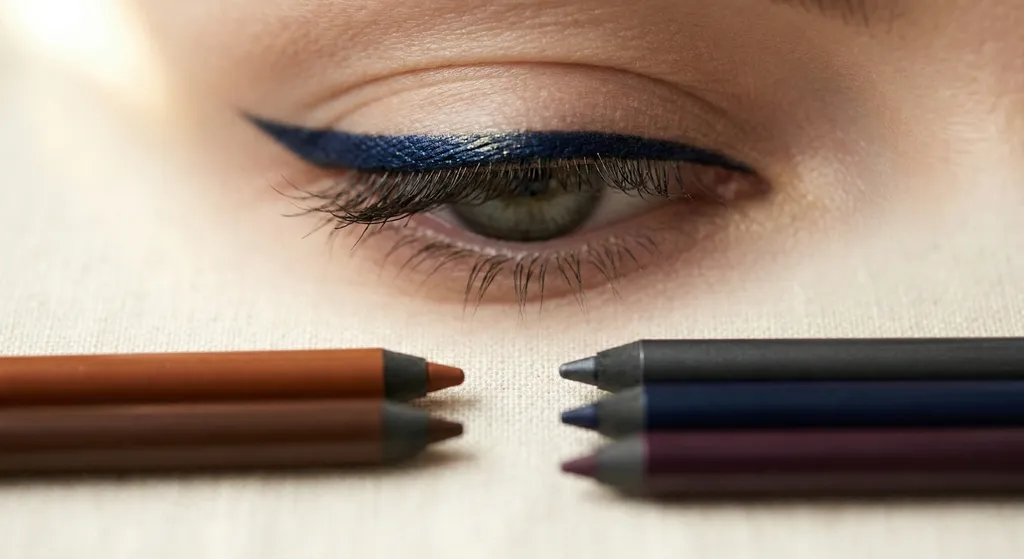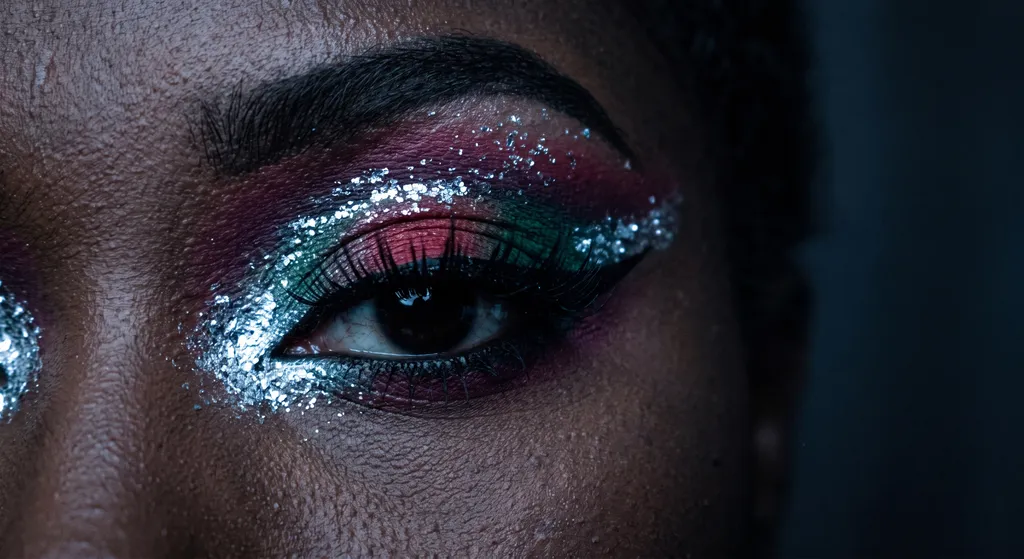
Yes, a Dark Winter can go full festival-maximalist, and unlike most seasons she does not have to swap away from jet black to do it. This guide gives you three graphic eye looks, ordered easiest to most advanced: a long wing that gradients from berry into navy into teal, a crimson wing cut through with a clean stripe of negative space, and a fuchsia glitter eye framed by a stacked white-and-black outline. Every one leans on cool jewel tones and icy-white sparkle instead of the warm brights generic festival tutorials push, so the drama amplifies your natural depth instead of fighting it.
Find your color season and get a personalized eye look from a selfieThe three looks at a glance
Pick by the technique you want to practice and the steadiness of your hand. Every look is built from the same Dark Winter palette, so you can borrow elements across them without ever leaving your season.
| Look | Vibe | Lead color | Sparkle | Difficulty |
|---|---|---|---|---|
| Aurora Wing | Long gradient graphic wing | Berry, navy, teal | Chrome-silver lid | Intermediate |
| Crimson Cut | Negative-space graphic wing | Crimson red | Icy-white cutout | Advanced |
| Fuchsia Frost | Glitter-drenched double outline | Fuchsia, plum | Fuchsia glitter lid | Advanced |
New to lid, crease, and outer-V? Our eyeshadow placement guide maps where each shade goes. Three formulas do all the work across these looks:
- Pressed powder shadow for the color washes, gradients, and crease work.
- Glitter shadow (pressed, or glitter suspended in a bonded gel or cream base) for every bit of sparkle. The bonded formulas grab the lid and set in place, so you never need loose glitter near the eye.
- Liquid eyeshadow or a colored gel or liquid liner for the graphic linework these looks are built on: gradients locked into crisp lines, stacked outlines, and the negative-space cut in Look 2.
Want the opposite end of the spectrum? Our clean girl guide for Dark Winters shows how the same cool depth reads at full restraint.
Three festival directions, one Dark Winter palette: a long gradient wing, a negative-space crimson cut, and a fuchsia glitter double outline, ordered so you start with a single clean wing and build up to stacked, layered linework.
Not sure you're a Dark Winter? Find out from one selfie
BeautySpark confirms your color season and builds eye looks around your Dark Winter palette.


Look 1: Aurora Wing
A single long wing that runs clean from the outer corner up to the brow, shifting from berry at the top through navy into teal as it falls, over a chrome-silver lid. It is the most approachable of the three: one wing, one gradient, no stacked linework.
Dark Winter Palette
Best Colors
Neutral Colors
Difficulty: Intermediate. One wash, one wing, one gradient, no stacked lines.
- Prime and base. Press eye primer over the lid and let it tack for a few seconds. With a pressed powder shadow, sweep chrome silver #C0C4C8 over the entire lid, then pat a touch of icy white #F5F5F5 into the inner corner and just under the brow arch for lift.
- Map the wing. With a fine brush and a light shade, sketch a single straight line from the outer corner up toward the tail of the brow, following the brow's natural angle rather than cutting across it. Mapping first means you only commit once the angle looks right.
- Lay the gradient base. Using pressed powder shadow, pat deep raspberry #872657 along the top third of the mapped line nearest the brow, deep navy #1B2A4A through the middle third, and emerald #1A7A4C along the bottom third nearest the lash line. Blend only where each color meets its neighbor so the transition reads smooth rather than banded.
- Lock the gradient in liner. Switch to a liquid eyeshadow or gel liner and trace firm, saturated lines directly over each gradient band in the matching shade, in one smooth pull each, so the wing reads crisp rather than powdery.
- Widen the base of the wing. Where the wing meets the lash line, thicken the shape slightly with deep navy so it anchors visually into the eye rather than floating off the brow.
- Tightline in black. With a liquid or gel liner in pure black #000000, tightline the upper lash line and reinforce the base of the wing where it meets the lashes. This is one of the few seasons where black belongs directly against the eye, so let it read fully opaque.
- Deepen the crease. Blend a little deep navy into the outer crease with a fluffy brush, tapping off the excess first, so the gradient wing has a soft shadow to sit against rather than bare skin.
- Pop the inner corner. Press icy white into the inner corner and blend it very slightly upward, so it reads as a bright, cool spark against the silver lid.
- Line the lower lash line. Smudge emerald along the outer half of the lower lash line and deep raspberry along the inner half, meeting in the middle, then set a small dot of icy white at the inner lower corner.
- Finish with lashes. Add full black lashes for maximum definition, then finish the face by hand: a cool berry blush high on the cheek and a mauve-pink lip tie the whole look together.
Aurora Wing is the easiest way into Dark Winter festival maximalism: one long gradient wing in berry, navy, and teal, tightlined in black, with a chrome-silver lid doing the sparkle work.
Look 2: Crimson Cut
A solid crimson wing with a clean stripe of negative space cut straight through it, over a soft pink-white shimmer lid, anchored by a black tightline beneath. This one lives or dies on a steady hand for the cutout, so patience matters more than speed.
Dark Winter Palette
Best Colors
Neutral Colors
Difficulty: Advanced. The cutout step rewards patience and a steady hand.
- Prime and base. After primer, sweep frosted rose #E8C9D0 over the lid with a pressed powder shadow for a soft pink-white base that will make the red pop.
- Map the wing shape. With a light shade on a fine brush, sketch a bold wing shape extending from the outer corner upward and out, wider than a typical liner wing since this shape needs room for the cutout inside it.
- Fill the wing in red. Trace the mapped shape with a liquid eyeshadow or gel or liquid liner in true red #CC0000, filling it in as a solid block rather than a thin line, keeping the outer edge crisp.
- Deepen the root. Blend a touch of burgundy wine #6B1D2A into the base of the red wing where it meets the crease, so the shape has depth rather than sitting flat.
- Cut the negative space. This is the step that rewards patience: with a fine detail brush loaded with icy white, carve a clean stripe through the middle of the red wing, following its angle so a sliver of white shows through. Steady your elbow and pull the stripe in one motion rather than several short strokes, so the edge stays sharp on both sides.
- Sharpen both edges. Go back over the upper and lower edges of the red shape with a fine liner brush to clean up any wobble left by the cutout step, since this look lives or dies on crisp lines.
- Tightline in black. With a gel or liquid liner in pure black, tightline the upper lash line and add a slim black wing directly beneath the red shape, so black anchors the graphic color from below.
- Add a spark of white. Press a small amount of icy white into the inner corner to match the cutout stripe and open up the eye.
- Work the lower lash line. Smudge burgundy wine along the lower lash line and dot icy white at the outer lower corner to echo the cutout above.
- Finish with lashes. Add dramatic black lashes, then finish the face by hand: a cool berry-red blush and a mauve-rose lip complete the look.
Crimson Cut proves negative-space liner belongs in the Dark Winter toolkit: a solid true red wing with a clean white stripe cut through it, anchored by black tightlining below.
Look 3: Fuchsia Frost
A dense fuchsia glitter lid framed by a stacked white-and-black double outline, over a rich plum crease. This is the most demanding look of the three, so save it for when you have time and a fine brush.
Dark Winter Palette
Best Colors
Neutral Colors
Difficulty: Advanced, and the most demanding look here. Set aside real time.
- Prime and base. After primer, sweep rich plum #6C2C6A across the crease and outer lid with a pressed powder shadow, blending it up toward the brow bone for a smoky base to frame the glitter.
- Deepen the outer crease. Tap deep violet #4B0082 into the outer corner and outer third of the crease, blending only the top edge so the color pools naturally into the outer V.
- Drench the lid in fuchsia glitter. Between the plum crease and the lash line, press fuchsia flash #C6146B glitter shadow densely into the lid with a flat synthetic brush or fingertip, pressing rather than sweeping so the flakes lie flat. A bonded gel or cream glitter formula holds best here: lay a thin first coat, let it tack, then press a second coat for full density. Do the messy work now, while no crisp line exists to ruin.
- Clean up the fallout. Sweep away all fuchsia fallout under the eye and off the surrounding skin, and tidy the glitter's upper boundary against the plum crease, in one pass, so the lid is clean and set before any line goes down.
- Map the double line. With a light shade on a fine brush, sketch two parallel curving lines from the inner corner out into a wing: the white line will sit on top, the black line just beneath it. Map onto the finished glitter lid so the lines commit against what is actually there. If the map is hard to see over the sparkle, use a slightly denser hand or a shade that reads against fuchsia.
- Lay the white line first. Trace the upper mapped line with a liquid eyeshadow or gel or liquid liner in icy white, pulling one smooth curve from inner corner to wing tip so the edge stays clean. This line does the visual heavy lifting, so keep it opaque, and expect to build it in two passes so it does not go pink over the fuchsia.
- Stack the black line beneath. Trace the second mapped line directly under the white one with a gel or liquid liner in pure black, following the same curve so the two lines run perfectly parallel rather than drifting apart.
- Tightline and finish the wing. Tightline the upper lash line in pure black and extend the stacked wing slightly past the outer corner for lift.
- Work the lower lash line. Smudge rich plum along the lower lash line, add a fine black line beneath it, and press a few flecks of fuchsia flash glitter at the outer corner to tie the two lash lines together.
- Finish with lashes. Add full, dramatic black lashes, then finish the face by hand: a cool plum blush and a mauve-plum lip complete the look.
Fuchsia Frost is the most demanding of the three: a stacked white-and-black double outline holding in a dense fuchsia glitter lid, with rich plum and deep violet doing the smoky groundwork.
Why Dark Winter leans into black, jewel tones, and ice
Now the reasoning, if you want it. Every look above leans on three choices that would wash out a lighter or warmer season, and that is exactly the point: Dark Winter is one of the only seasons built to carry this much cool intensity at once. Here is the full shade set the looks draw from, then why each choice matters. For the everyday version of these tones, see your full Dark Winter palette.
Dark Winter Palette
Best Colors
Neutral Colors
Black is your definition, not your limit
Definition is what stops a color-blocked eye from sliding into chaos, and on Dark Winter coloring, black is exactly the right tool for it. Color-analysis guides for Dark Winter, including our own Dark Winter color guide, treat jet black eyeliner as not just acceptable but actively recommended, because it enhances the natural high contrast of deep, cool coloring rather than fighting it. Use pure black #000000 as a tightline and as a structural wing color in its own right, stacked directly against jewel tones instead of softened into a warmer neutral.
Black is your festival power tool: unlike lighter or warmer seasons, Dark Winter wears it tightlined and as a graphic wing without ever looking harsh.
Cool jewels only, never warm brights
Generic festival tutorials reach for warm orange, warm coral, and golden yellow, all four of which sit on Dark Winter's official colors-to-avoid list because they fight cool-neutral depth. Swap them for true red, emerald, rich plum, deep raspberry, and fuchsia: jewel shades that read as intensity rather than as a clash. These are the same rich, saturated tones your everyday Dark Winter palette already leans on, just built into graphic shapes instead of soft washes.
True red, emerald, rich plum, and fuchsia are your festival jewels: cool, saturated, and dramatic in a way warm coral or golden orange can never be on your coloring.
Icy sparkle, never warm gold
Warm gold and bronze glitter, a festival staple, drags cool depth toward sallow. Icy white and chrome silver do the opposite, throwing a cold, mirror-bright spark that photographs beautifully against dark hair and deep, cool skin. Use it as a lid wash, an inner-corner pop, or, as in Crimson Cut, cut directly through a color block as negative space, so the sparkle logic and the graphic logic reinforce each other.
Icy white and chrome silver are the festival sparkles for Dark Winter: cold, reflective, and skin-flattering where warm gold would go sallow.
Make Dark Winter festival makeup last
A festival eye has to survive heat, dancing, and a long day, and Dark Winter's cool intensity needs that staying power without ever softening into warmth. Layering is what holds it. Start with eye primer, set your base color, then press matte shades and glitter shadow on in thin, firm layers rather than one heavy pass. Bonded gel and cream glitter shadows lock down as they set, so a light first coat plus a pressed second coat gives you density that lasts. A fine mist of setting spray at the end holds the graphic lines in place through hours of movement.
Keep the definition black and fully opaque throughout rather than letting it soften to gray as the day wears on, so the look reads as crisp at midnight as it did at noon. For anything near the eye, choose formulas made for the eye area and keep product off the waterline and out of the lash line, the same logic that rules out glued gems and loose glitter: nothing that can shed or migrate into the eye.
Layering is what makes a Dark Winter festival eye last: primer, set base, matte color, then glitter shadow pressed on in firm coats and locked with setting spray, all held together by opaque black definition.
Not a Dark Winter? Quick swaps
These looks are tuned to deep, cool-neutral coloring, so a different season needs a different palette, not a cool-and-warm mash-up within one eye. Each swap below keeps a single temperature so the look stays coherent.
If you are a purer True Winter, push every shade toward even colder clarity: skip any of the edge-case warmth Dark Winter can borrow from Dark Autumn, and keep every jewel tone unambiguously cool.
If you are the warmer Dark Autumn, swap the whole temperature at once: trade navy and emerald for burgundy and forest green, and icy white and chrome silver for bronze-gold and warm amber, while keeping the same depth and the same graphic liner structure.
Adapting these looks across seasons means re-pitching the whole palette to one temperature: even colder and clearer for True Winter, warmer and richer for Dark Autumn, never cool and warm jewel tones blended inside one eye.
Frequently Asked Questions
Dark Winter festival makeup is maximalism that plays to your strengths: keep the liner black, the color cool and jeweled, and the sparkle icy, and you can go as bold as any festival look while staying entirely in your season.
Not sure you're a Dark Winter? Find out from one selfie
BeautySpark confirms your color season and builds eye looks around your Dark Winter palette.