Eyeliner for beginners comes down to three things: start with a pencil because it is the most forgiving tool, draw with the dot-and-connect method instead of one nervous stroke, and choose a shade that suits your coloring rather than defaulting to harsh black. Get those right and an even line is within reach on your first few tries, no steady-handed talent required.
Get a personalized eye makeup tutorial matched to your color seasonPick Your Liner Type (Pencil, Gel, or Liquid)
Three formats cover almost everything you will see on a shelf, and they are not equally beginner-friendly. Start with the one that hides mistakes, then graduate as your hand gets steadier.
Pencil is where every beginner should start. It glides on softly, moves slowly enough to control, and smudges away with a cotton swab if you overshoot. A pencil gives you a soft, slightly imperfect line that looks intentional even when it is not perfectly straight, which takes the pressure off. Look for one labeled creamy, gel, or kohl rather than a hard, dry pencil that drags on the lid.
Gel liner (in a small pot or a twist-up stick) is the natural next step. It lays down richer, longer-wearing color than a pencil and resists smudging once it sets, but you apply it with a small angled brush, so it asks a little more of your coordination. A twist-up gel pencil is a friendly middle ground: gel payoff, pencil control.
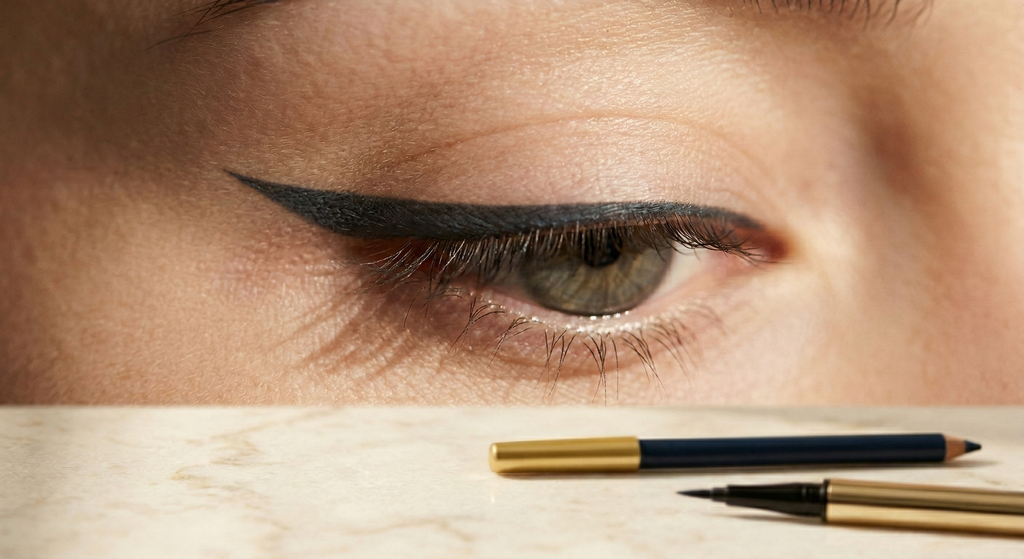
Liquid liner gives the sharpest, most defined line and is what most winged looks are built on, but the felt tip or fine brush leaves no room to hide a wobble. Save liquid for once the dot-and-connect motion feels automatic with a pencil.
For beginners, a soft pencil is the most forgiving liner and the right place to start; move to gel, then liquid, as your control improves.
Choose a Shade That Suits You, Not Just Black
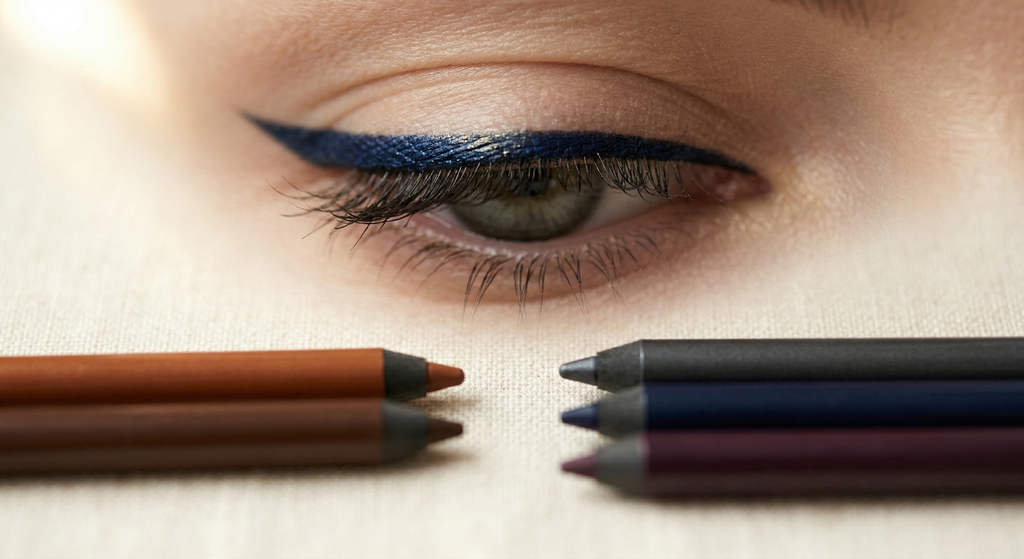
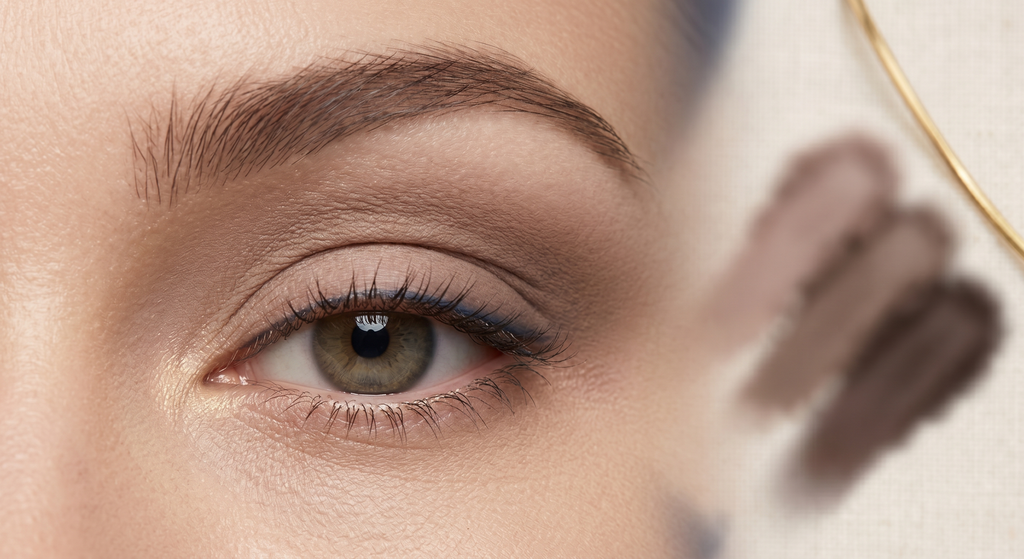
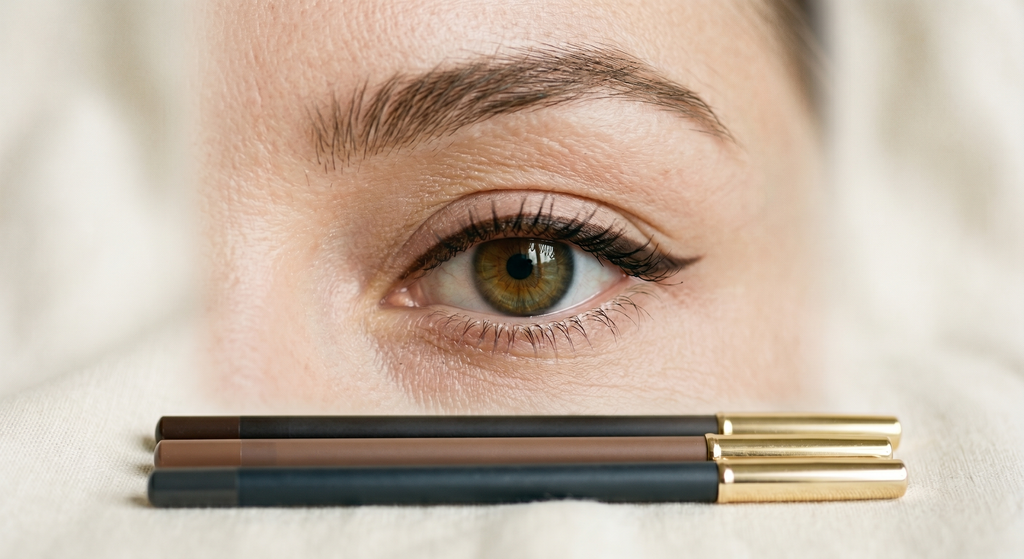
Reaching straight for jet black is the most common beginner mistake. Black can read heavy and harsh against softer or lighter coloring, drawing more attention to the liner than to your eyes. The better question is not "is my skin light or deep" but "is my overall coloring warm, cool, or soft," because the most flattering liner shade stays in the same temperature family as the rest of your features. That is the logic behind seasonal color analysis, and it carries straight over to liner.
Here is the short version. Warmer colorings (the Spring and Autumn families) look most natural in warm browns and bronzes, from soft cognac to deep espresso. Cooler, high-contrast colorings (the Winter family) can carry true black and cool charcoal, the crisp, clean contrast those palettes are built for. Softer and lighter colorings (the Summer family and the lightest seasons) are flattered by gentler, muted shades: taupe, soft gray-brown, and cool gray that define the eye without the hard edge of black. Keep your pick inside one temperature lane, warm with warm or cool with cool, and never mix the two in a single look.
Beginner-Friendly Liner Shades by Temperature Palette
Best Colors
If you are not sure which family you fall into, our guide to the liner shade for your season walks through one everyday pick for each of the twelve color seasons, and you can identify your season from a selfie before you shop.
Pick a liner in the same temperature family as your coloring: warm browns for warm seasons, cool charcoal or black for cool seasons, soft taupe and gray for muted and light seasons.
The Dot-and-Connect Method for Beginners, Step by Step
The single biggest reason beginner liner comes out shaky is trying to draw one long, perfect line in a single nervous sweep. The dot-and-connect method removes that pressure entirely. You place small marks first, then join them, so every stroke is short and controllable.
Step 1: Steady your hand. Rest your elbow on a flat surface and brace your pinky against your cheek. A supported hand wobbles far less than one floating in the air.
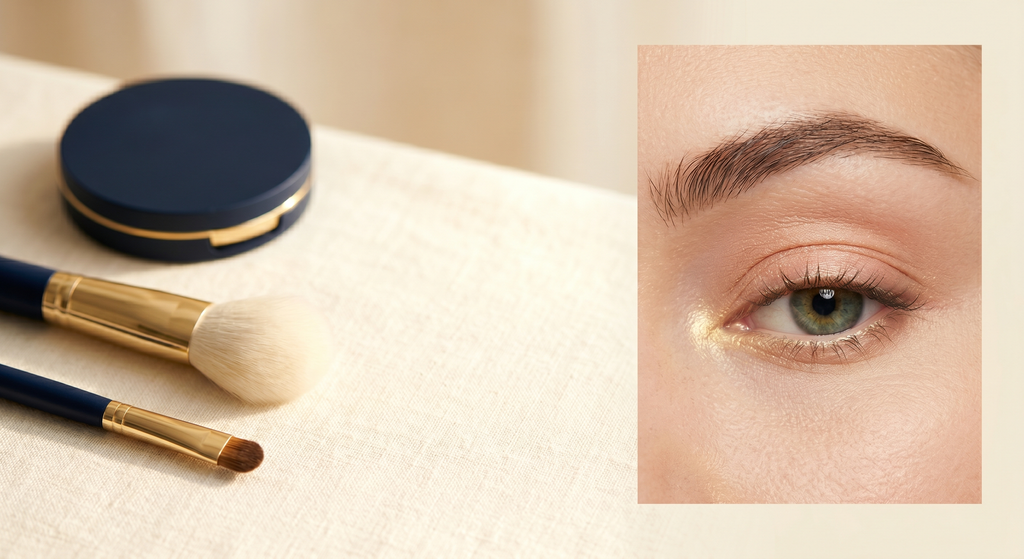
Step 2: Prep the lid. Make sure the lid is clean and dry, then sweep on a little eyeshadow or primer. A smooth, slightly powdery base helps the pencil glide and stops the line from sliding around later.
Step 3: Dot along the lash line. Looking straight into the mirror with the eye relaxed, place a row of tiny dots or dashes right at the base of the upper lashes, starting from the inner corner and working outward. Keep them as close to the lashes as you can, with no gap of bare skin showing underneath.
Step 4: Connect with short strokes. Join the dots using small, feathery strokes rather than one continuous drag. Work in short segments from the inner corner out, letting each stroke meet the next.
Step 5: Thicken gradually. Go back over the line to even it out, building thickness slowly from a hair-thin line at the inner corner to slightly more at the outer corner. It is always easier to add than to remove, so start thin.
Step 6: Clean up. Tidy any stray marks with a cotton swab (a dry one for pencil, a barely damp one for gel). A clean lower edge is what makes a beginner line look finished.
The dot-and-connect method turns one intimidating stroke into a series of short, easy ones, which is the fastest route to an even line.
Discover Your Perfect Eye Look
Get your first AI-personalized look in under 5 minutes.


Tightlining and the Waterline (Gentle Definition)
If a full line still feels like too much, this is the most beginner-friendly definition there is. Tightlining means pressing a little color into the upper waterline, the thin strip of skin tucked right behind your upper lashes. It fills the gaps at the lash roots so your lashes look denser and your eyes look more awake, with no visible line on the lid at all. It is often called invisible eyeliner for exactly that reason, and because it adds definition without using any lid space, it is especially forgiving on hooded eyes.
To do it, look down into a hand mirror, gently lift the lid, and press a creamy pencil in short dabs along the upper waterline at the base of the lashes. Stay right at the lash roots; there is no need to push the pencil deeper into the eye. Use a liner labeled waterproof, long-wearing, and eye-safe so it stays put and does not sting.
The lower waterline is a separate choice. A nude or soft beige pencil on the lower waterline brightens and opens the eye, a flattering, low-effort trick for any beginner. A dark pencil on the lower waterline creates a more dramatic, smudgier effect and can make smaller eyes look smaller, so go light there while you are learning.
Tightlining the upper waterline adds soft, natural definition with no visible line, making it the gentlest entry point into eyeliner.
Liner by Eye Shape
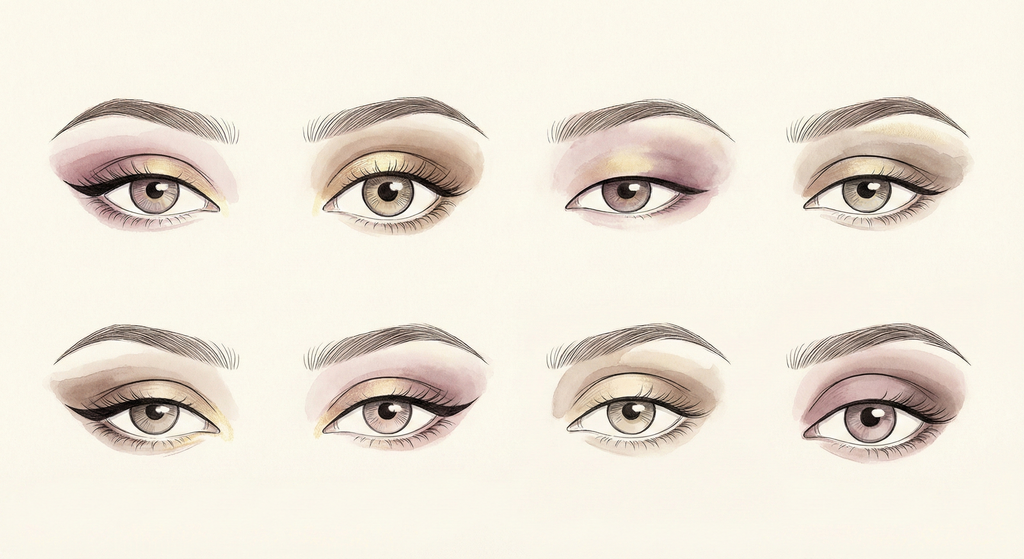
Once the basic line feels comfortable, small tweaks for your eye shape take it from fine to flattering. The principle is simple: liner should follow and enhance the shape you already have rather than fight it, and how much lid space shows when your eyes are open decides where the line should sit.
A few quick starting points. On hooded eyes, where a fold of skin covers part of the lid, apply liner with your eyes open so you can see exactly where the line stays visible, and lean on tightlining instead of a thick lid line. On round eyes, keep the line thin through the middle and extend it slightly past the outer corner to draw the eye outward rather than up. On almond eyes, almost anything works; a thin line that thickens gently toward the outer corner flatters the natural shape. On monolids, place the line a touch higher than the lash line and extend it slightly past the corner so it stays visible when the eye is open.
This is only a primer. For step-by-step techniques tailored to every shape, see our full guide to the line for your eye shape, and if you are not sure which shape you have, start by learning how to find your eye shape.
Liner placement should work with your eye shape, and how much lid shows with eyes open decides where the line belongs.
Fixing Common Beginner Eyeliner Mistakes
Every beginner runs into the same handful of problems. None of them mean you got it wrong; they just need a small adjustment.
The two sides do not match. This is the most common complaint, and the fix is to stop working one eye at a time in isolation. Look straight ahead into the mirror and compare both eyes against the same landmarks (the inner corner, where the lashes end, the crease) before you commit to thickness. To line up wing ends or where each line stops, place a small dot on each side first and check that the two dots sit at the same height; then connect. Small natural differences between your eyes are normal, so adjust the line slightly on each side rather than forcing them to be identical.
It smudges into the crease or under the eye. Set the line. Press a matching powder eyeshadow over a pencil line to lock it, and switch to a waterproof or long-wearing formula if smudging keeps happening. A clean, dry, oil-free lid before you start makes the biggest difference.
The line came out wobbly. Build it in stages instead of one pass. Lay down a thin guide line first, let any small wobbles average out, then go back and smooth the edge. The dot-and-connect method exists precisely to prevent this.
It looks too heavy. Soften it. Smudge the line gently with a cotton swab or a small brush for a softer, smokier finish, or lift excess product by pressing (not rubbing) with a clean swab. Next time, start with a thinner line, since you can always add more.
Most beginner eyeliner problems trace back to two habits: drawing too thick too soon, and lining each eye in isolation instead of checking both against the same landmarks.
Quick-Reference Table
| Step | Tool / Technique | What It Achieves |
|---|---|---|
| Choose your liner | Soft pencil (creamy or kohl) | Most forgiving format; smudges away if you slip |
| Choose your shade | Warm brown, cool charcoal/black, or soft taupe by season | Flatters your coloring instead of overpowering it |
| Steady your hand | Elbow braced, pinky on cheek | Removes the wobble before you draw |
| Prep the lid | Eyeshadow or primer base | Helps the line glide and last |
| Dot the lash line | Tiny dots from inner to outer corner | Creates a guide so no single stroke has to be perfect |
| Connect the dots | Short, feathery strokes | Builds an even line in controllable segments |
| Thicken gradually | Thin at inner, slightly thicker at outer | Adds definition without going heavy |
| Define gently | Tightline the upper waterline | Natural fullness with no visible line |
| Even the sides | Straight-ahead mirror; match landmarks | Balanced result on both eyes |
| Fix mistakes | Cotton swab; set with powder | Cleans the edge and stops smudging |
Step by step, eyeliner is pencil, dots, connect, thicken, and tidy, with the right shade chosen before you start.
Frequently Asked Questions