You bought a lipstick that looked perfect in the tube. Maybe you saw it on an influencer, or the swatch on the back of your hand seemed exactly right. But on your lips, something shifted. It pulls too orange, or too purple, or too bright, too something. The shade you imagined is not the shade that showed up on your face.
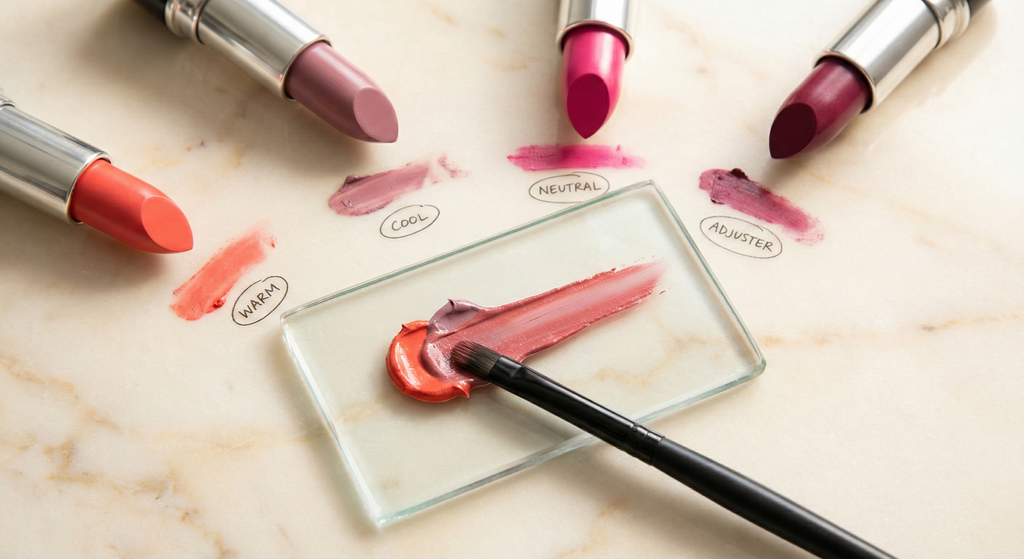
Before you shove it to the back of the drawer or toss it in the declutter pile, there is a color theory trick that professional makeup artists have used for decades: you can mix it. Not by buying some special product, but by combining it with another lipstick you already own to shift the temperature, depth, or saturation until it actually works for your coloring.
This guide will teach you how to diagnose exactly what is wrong with a lipstick, which shade to mix it with to fix the problem, and the practical techniques for getting a seamless result.
Find out exactly which shades suit you with BeautySparkWhy Some Lipsticks Look Wrong on You
Three factors determine how a lipstick actually looks once it is on your lips, and only one of them has anything to do with the lipstick itself.
Your natural lip pigment. Every pair of lips has its own pigmentation, and this acts as a filter on every lipstick you apply. If your natural lips are pink or rosy, they will push cool-toned lipsticks even cooler and pull warm-toned lipsticks slightly toward neutral. If your natural lips lean peachy or brownish, the opposite happens. This is why the exact same shade can look completely different on two people: your lips are adding their own color layer underneath.
Your skin undertone. A lipstick sits against the frame of your skin, and your undertone shifts how your eye perceives the lip color. Cool-toned skin makes warm lipsticks look even warmer (sometimes jarringly so), and warm-toned skin makes cool lipsticks look even cooler. When a lipstick clashes with your undertone, it creates a visual disconnect between your lips and the rest of your face.
The lipstick's actual pigment. The formulation matters, but it matters less than most people think. A lipstick can be objectively well-made and beautifully pigmented, but if its undertone conflicts with your natural coloring, it will look "off" every single time you wear it.
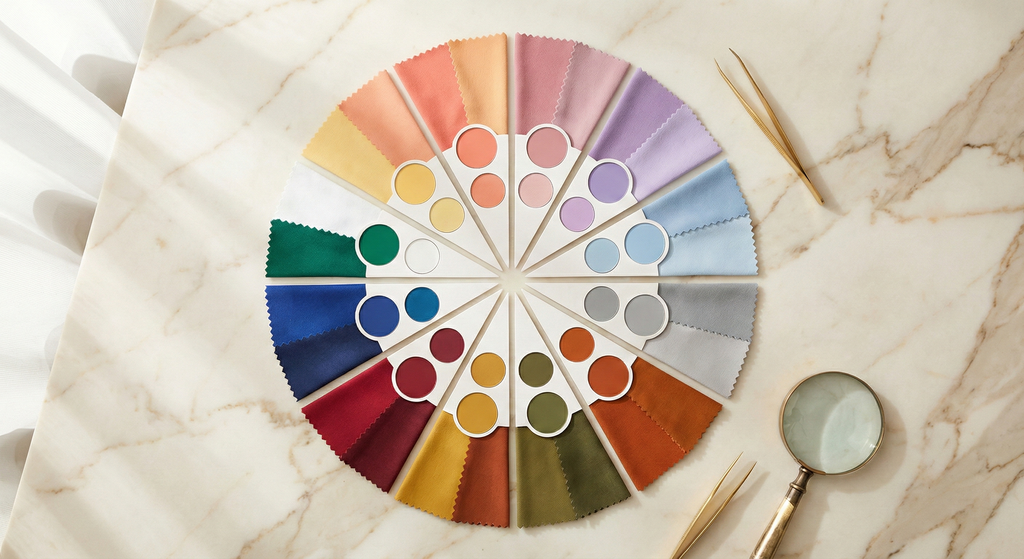
Knowing your color season tells you exactly which undertone direction your coloring naturally pulls, which makes diagnosing a lipstick problem much faster.
Diagnosing What Is Wrong
Before you can fix a lipstick, you need to name the specific problem. Apply the shade and look at your face in natural daylight (not bathroom lighting, not overhead fluorescent). Then ask yourself which of these descriptions fits.
Too warm. The lipstick looks orangey, yellowed, or salmony on you. This is extremely common for cool-toned people. Your cool skin pushes the warm pigments forward and they become the dominant visual note. If you are a Summer or Winter, any lipstick with a warm base is likely to pull this way on you.
Too cool. The lipstick looks purply, ashy, or washed out. This happens to warm-toned people wearing cool-based shades. The blue or purple undertone in the lipstick clashes with the warmth in your skin, and the result is a greyish or lifeless appearance. Common for Spring and Autumn seasons.
Too bright. The lipstick overwhelms your face. It looks vivid and almost neon on you, even though it looked perfectly wearable in the tube. This happens most often to Soft and Muted seasons (Soft Summer and Soft Autumn in particular), whose naturally low-contrast coloring cannot carry high-saturation pigment without looking clownish.
Too muted. The lipstick looks flat, dead, or muddy on you. It does not have enough vibrancy to register as an intentional color choice. This is the opposite problem, and it hits Bright and Clear seasons (Bright Winter and Bright Spring), who need clean, vivid pigment to look alive.
Too light. The lipstick washes you out. Your lips disappear into your face and you look paler than usual. Common for Deep and Dark seasons whose coloring needs richer depth to look balanced.
Too dark. The lipstick looks harsh, aging, or goth-adjacent when you did not intend that effect. Common for Light seasons whose delicate coloring gets overwhelmed by heavy depth.
Color Theory Basics for Lipstick Mixing
You do not need an art degree for this. The essential principles are:
Warm cancels cool, and cool cancels warm. If a shade is too warm, mixing in a cool-toned shade neutralizes the warmth. If it is too cool, a warm shade neutralizes the coolness. You are not adding pure blue or yellow pigment. You are mixing with another lipstick that leans in the opposite temperature direction.
Adding a lighter shade raises the value. If a lipstick is too dark, mixing it with a lighter shade (or applying a light shade underneath) brings the depth up.
Adding a darker shade lowers the value. If a lipstick is too light, mixing it with a deeper shade adds the richness it is missing.
Adding a muted shade reduces saturation. If a lipstick is too vivid, a dusty or gray-touched shade absorbs some of the brightness and makes it more wearable.
Adding a vivid shade increases saturation. If a lipstick is too flat, a clean bright shade injects the life it is missing.
That is it. Five principles. Every lipstick fix you will ever need comes from combining one or two of them.
The Mixing Methods
There are three practical ways to mix lipstick shades. Each has its strengths.
Brush Mixing
This is the most controlled method and the one professional MUAs prefer. Pick up the problem shade on one side of a lip brush and the correcting shade on the other. Swirl them together on the back of your hand or a small palette until you see the mixed result. If it looks right, apply it. If it needs adjustment, add more of one shade and blend again.
The advantage of brush mixing is that you can see exactly what you are going to get before it goes on your lips. You can fine-tune the ratio incrementally without committing.
Layering on Lips
This is the fastest method. Apply the lighter or base shade first, blot lightly with a tissue, then apply the correcting shade on top in small amounts. Press your lips together to blend.
The trade-off is less precision. The darker shade tends to dominate, so always start with the lighter shade as your base and add the darker shade gradually. You can always add more, but you cannot subtract.
Lip Liner Base
This is the most subtle method. Apply a lip liner in the "correcting" shade across your full lip area (not just the border), blend it inward slightly, then apply the problem lipstick on top. The liner shifts the overall temperature without changing the main color dramatically.
Liner base works best for small adjustments: nudging a slightly-too-warm shade toward neutral, or grounding a slightly-too-cool shade with a touch of warmth. It will not fix a major color mismatch, but for minor undertone issues it is the most elegant solution.
Start small when mixing
The most common mistake in lipstick mixing is adding too much of the correcting shade. Start with a ratio of about 3:1 (three parts of the original shade to one part corrector). You can always add more. If you overshoot and the correcting shade dominates, you have not fixed the lipstick, you have just replaced it.
Know Exactly Which Direction to Shift
Your color season tells you whether a lipstick is too warm, too cool, too bright, or too muted for your coloring. BeautySpark identifies your season from a selfie so you always know which way to correct.


Rescue Recipes by Problem
This is the practical core. Here is exactly what to mix for each common problem.
Too Warm: Add Cool
Your lipstick pulls orange or yellow. Mix it with a cool-toned shade (berry, mauve, or blue-pink) to neutralize the warmth.
Fix: Too Warm Palette
Best Colors
Too Cool: Add Warm
Your lipstick pulls purple or ashy. Mix it with a warm-toned shade (peach, coral, or brick) to neutralize the coolness.
Fix: Too Cool Palette
Best Colors
Too Bright: Add Muted
Your lipstick overwhelms your face with intensity. Mix it with a dusty, gray-touched shade to absorb some of the saturation.
Fix: Too Bright Palette
Best Colors
Too Muted: Add Bright
Your lipstick looks flat or dead. Mix it with a clean, vivid shade to inject life.
Fix: Too Muted Palette
Best Colors
Too Light: Add Deep
Your lips disappear into your face. Mix with a deeper shade to bring back presence.
Fix: Too Light Palette
Best Colors
Too Dark: Add Light
Your lipstick looks harsh or aging. Mix with a lighter shade or layer a sheer gloss on top.
Fix: Too Dark Palette
Best Colors
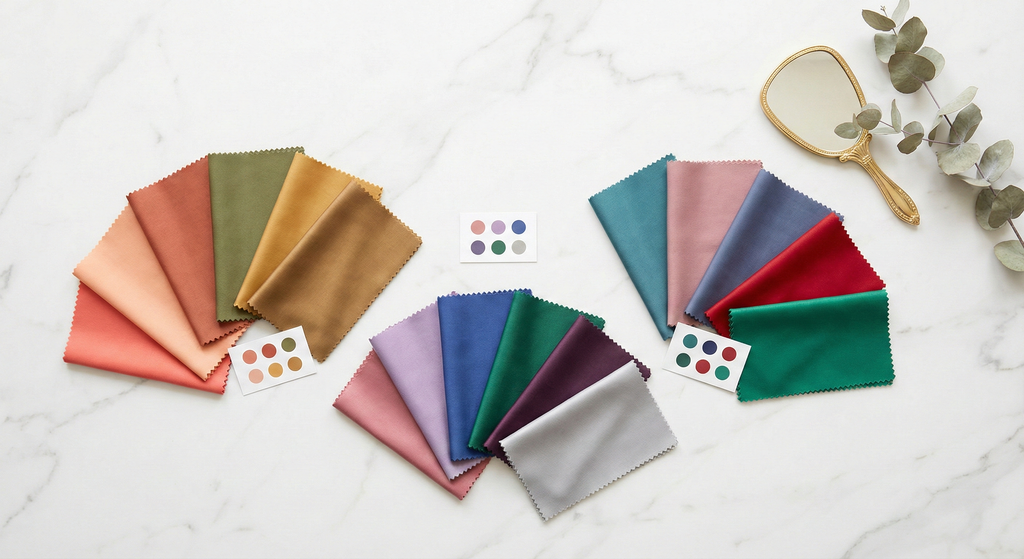
Real-World Examples by Season
Here are five specific scenarios showing how color mixing rescues lipsticks for different color seasons. Each example shows the problem shade, the corrector, and the approximate result.
Dark Winter: Too Icy Lilac
A Dark Winter has a cool lilac lipstick that is too icy and light for their deep, high-contrast coloring. The shade makes them look washed out.
Dark Winter Rescue Palette
Best Colors
Mix about 2 parts lilac with 1 part deep wine on a lip brush. The wine adds depth and a touch of richness without pulling warm. The result is a cool-toned plum that has the depth Dark Winter needs.
True Spring: Cool Raspberry Clash
A True Spring has a cool raspberry lipstick that clashes with their warm undertone. The cool base makes the shade look jarring against their warm skin.
True Spring Rescue Palette
Best Colors
Layer warm coral as a lip liner base across the full lip, then apply the cool raspberry on top. The warm liner shifts the overall temperature without changing the berry character. The result is a warm-leaning berry that works with Spring's warmth.
Soft Summer: Overly Vivid Coral
A Soft Summer has a bright vivid coral that is far too saturated for their muted, low-contrast coloring. It looks neon on them.
Soft Summer Rescue Palette
Best Colors
Mix about 2 parts dusty rose with 1 part vivid coral. The dusty shade absorbs the vivid saturation and adds the gray touch that Soft Summer needs. The result is a soft, cool-leaning pink that works with their muted coloring.
Deep Autumn: Too-Light Pastel Pink
A Dark Autumn has a pastel pink lipstick that is too light and too cool for their deep, warm coloring. The shade makes them look like they forgot to put on lipstick.
Deep Autumn Rescue Palette
Best Colors
Mix about equal parts pastel pink and terracotta on a lip brush. The terracotta does double duty: it adds warmth (fixing the cool issue) and adds depth (fixing the too-light issue). The result is a warm medium rose with the richness Deep Autumn coloring demands.
Bright Winter: Warm-Leaning Brick
A Bright Winter has a warm-leaning brick lipstick that sits wrong against their cool, high-contrast coloring. The warmth dulls their natural vibrancy.
Bright Winter Rescue Palette
Best Colors
Mix about 2 parts brick with 1 part vivid fuchsia. The fuchsia cools the warmth and adds the clean brightness that Bright Winter needs. The result is a vivid cool-neutral red that maintains the intensity their coloring can carry.
Tools You Will Need
You do not need a professional kit. Here is what makes lipstick mixing practical:
A lip brush. This is the one essential tool. A flat or rounded lip brush gives you control over mixing ratios and application precision. Without one, you are limited to less predictable layering methods.
Clean tissue or blotting papers. For blotting between layers when using the layering method. Keeps layers from becoming too thick or sliding around.
A few key lip liners. Keep three in rotation: one cool-toned (mauve or berry), one warm-toned (nude or peach), and one neutral. These are your subtle correction tools for the liner base method.
Clear or sheer gloss. Useful for adjusting finish and lightening any shade that came out too dark. A clear gloss over a too-deep mixed shade softens the depth instantly.
The back of your hand. Your built-in mixing palette. Swatch, blend, check, and adjust before committing to your lips.
When to Let Go
Not every lipstick can be saved, and knowing when to stop trying is as valuable as knowing how to fix one.
If you would need a 50/50 ratio, just wear the corrector. When the correcting shade has to be the dominant ingredient, the problem lipstick is not being rescued, it is being replaced. Wear the corrector on its own and save yourself the mixing step.
If the formula is bad, mixing will not fix it. A chalky, patchy, or uncomfortably drying lipstick does not become better when you mix it with a good lipstick. It just makes the good lipstick worse. Formula problems are formula problems. Color mixing fixes color problems, not texture problems.
If the value difference is extreme. Mixing a very dark lipstick with a very light one tends to produce muddy, unflattering results. The sweet spot for mixing is shades that are within two or three steps of each other in depth. Beyond that, you are better off with a completely different shade.
If you have tried and it still looks off. Sometimes a lipstick is just too far from your coloring to rescue. A warm peach on a Dark Winter, a vivid neon on a Soft Summer: some mismatches are structural, not fixable with a little mixing. Know your undertone, know your season, and accept that some shades were not meant for you. Pass them along to someone whose coloring they will actually suit.
Frequently Asked Questions
Your Season Is Your Color Correction Guide
Knowing your color season tells you exactly which direction a wrong lipstick is pulling and which way to shift it. BeautySpark identifies your season from a selfie so you always know how to fix (or choose) the right shade.